Introduction to the Alternator
An alternator is a vital component in modern vehicles, acting as an electric generator. Its primary function is to convert mechanical energy into electrical energy, essentially powering the vehicle’s electrical systems and charging the battery when the engine is running. Without an alternator, the battery would deplete rapidly, causing the vehicle’s electrical components to fail.
Role in the Electrical System
The alternator plays a crucial role in the vehicle’s electrical system. It ensures that all electrical components, such as the headlights, radio, and air conditioning, receive a continuous supply of electricity. When the engine runs, the alternator generates electricity that is used directly by the vehicle’s electrical systems. This not only helps in operating various electrical devices but also keeps the battery charged.
Relationship Between Alternator and Battery
The alternator and battery work together harmoniously to keep the vehicle running smoothly. While the battery is essential for starting the vehicle, the alternator recharges it and provides power to the vehicle’s electrical systems when the engine is in operation. Essentially, the alternator takes over the job of supplying power once the vehicle is started, which helps conserve the battery’s charge for starting the engine the next time.
Understanding the fundamental role of the alternator, its integration within the vehicle’s electrical system, and its relationship with the battery lays a strong foundation for further exploring how an alternator works, its components, signs of potential issues, and how to maintain its optimal performance.
How an Alternator Works
Understanding how an alternator works involves examining the sophisticated process through which it converts mechanical energy into electrical energy, enabling it to power the vehicle’s electrical systems and maintain battery charge.
Mechanical-to-Electrical Energy Conversion
The primary role of the alternator is to convert mechanical energy, generated by the vehicle’s engine, into electrical energy. This conversion process occurs as the engine runs, creating the necessary mechanical motion to drive the alternator.
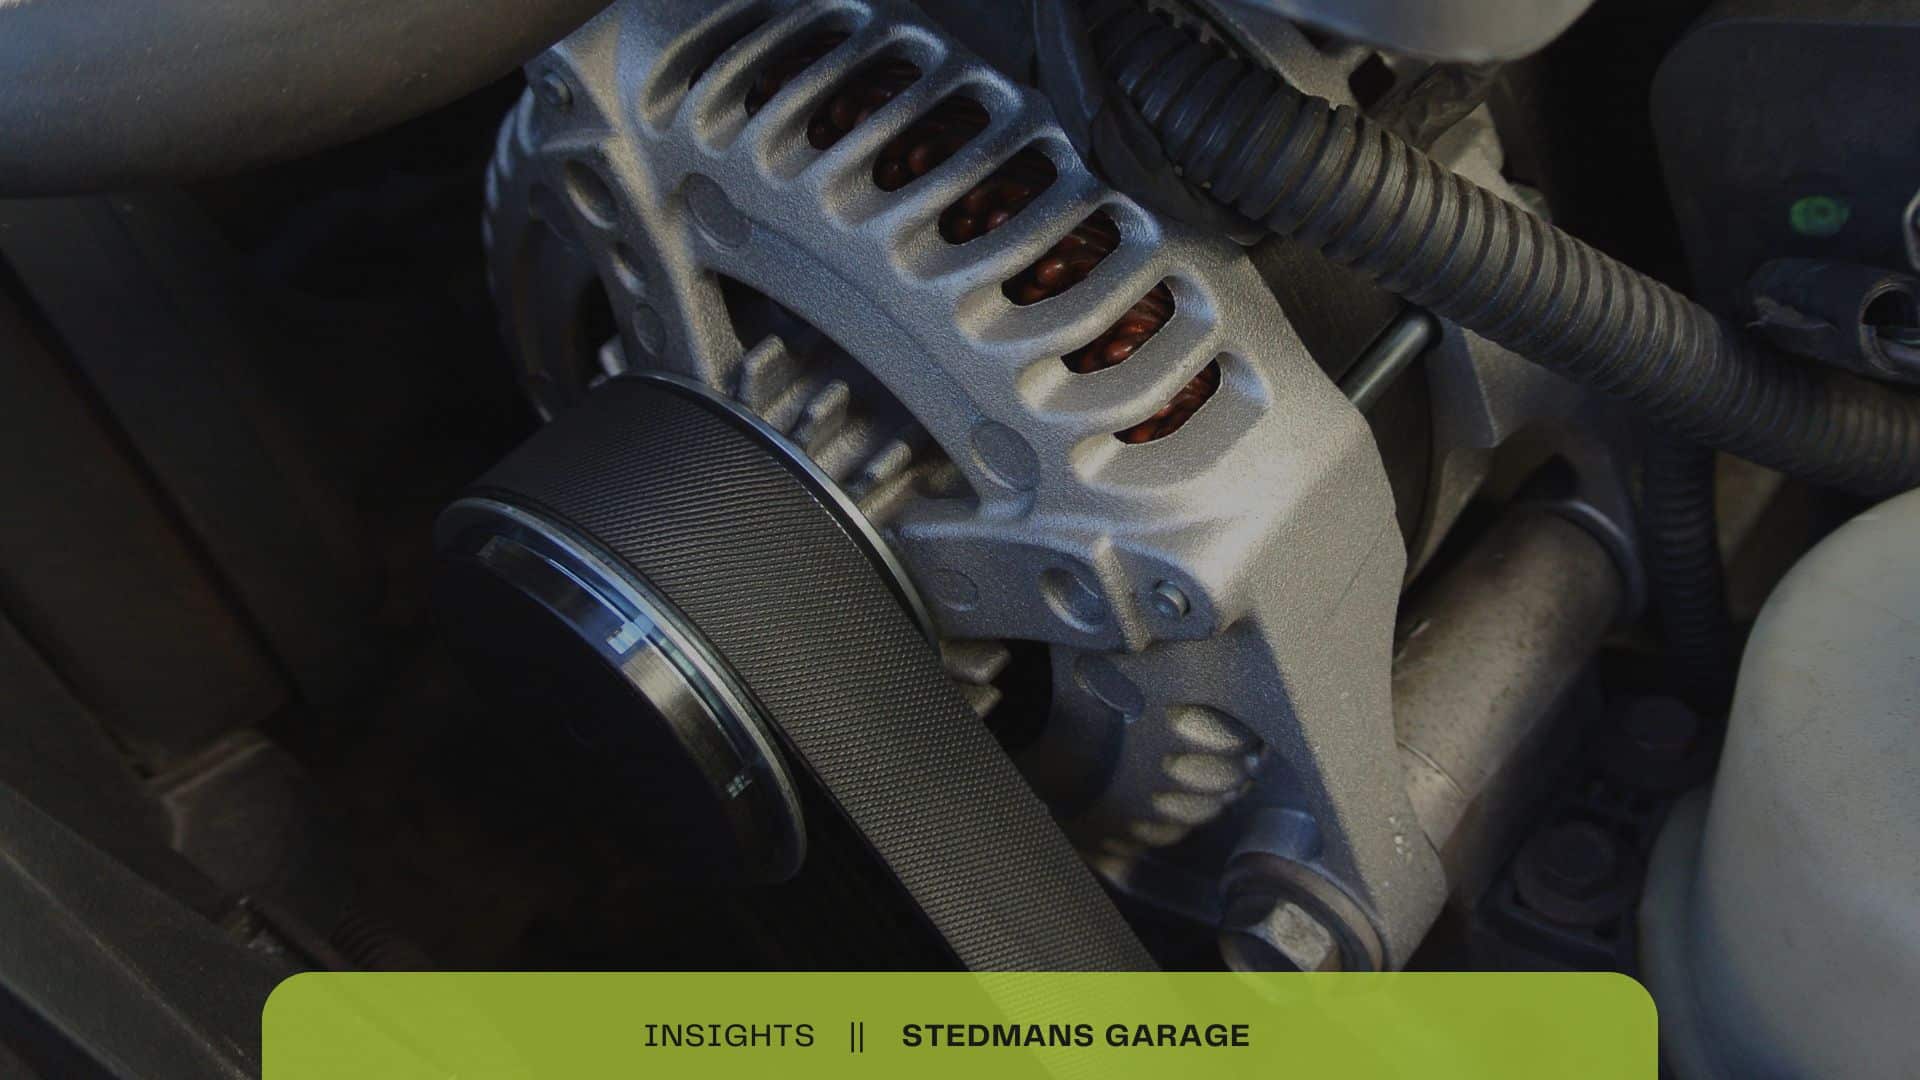
Engine’s Motion and the Drive Belt
Integral to this process is the drive belt, commonly known as the serpentine belt. When the engine is in operation, it rotates the drive belt. This belt is connected to the pulley of the alternator, causing it to spin. As the alternator’s pulley turns, it then turns the rotor inside the alternator.
From AC to DC Current
The spinning rotor helps to create a magnetic field around the stator. As the rotor, which contains windings of wire, spins inside the stator, which is another set of windings, it induces electrical current. This initially produced current is in the form of alternating current (AC), suitable for the operation of many electrical systems. However, cars typically need direct current (DC) for their systems and to charge the battery.
Thus, the alternator is equipped with a rectifier composed of diodes, which converts the AC to DC. The rectifier allows the current to flow in only one direction, providing a consistent DC output. This output is then regulated to ensure a stable voltage level suitable for the vehicle’s electrical devices and battery, which brings us to the role of the voltage regulator.
By converting mechanical energy into a regulated AC-to-DC electrical current, the alternator ensures that the vehicle’s electrical systems operate smoothly and the battery remains charged throughout its usage. This dynamic interplay is essential for the functioning of modern vehicles, ensuring reliability and efficiency in electrical power delivery.
Key Components of an Alternator
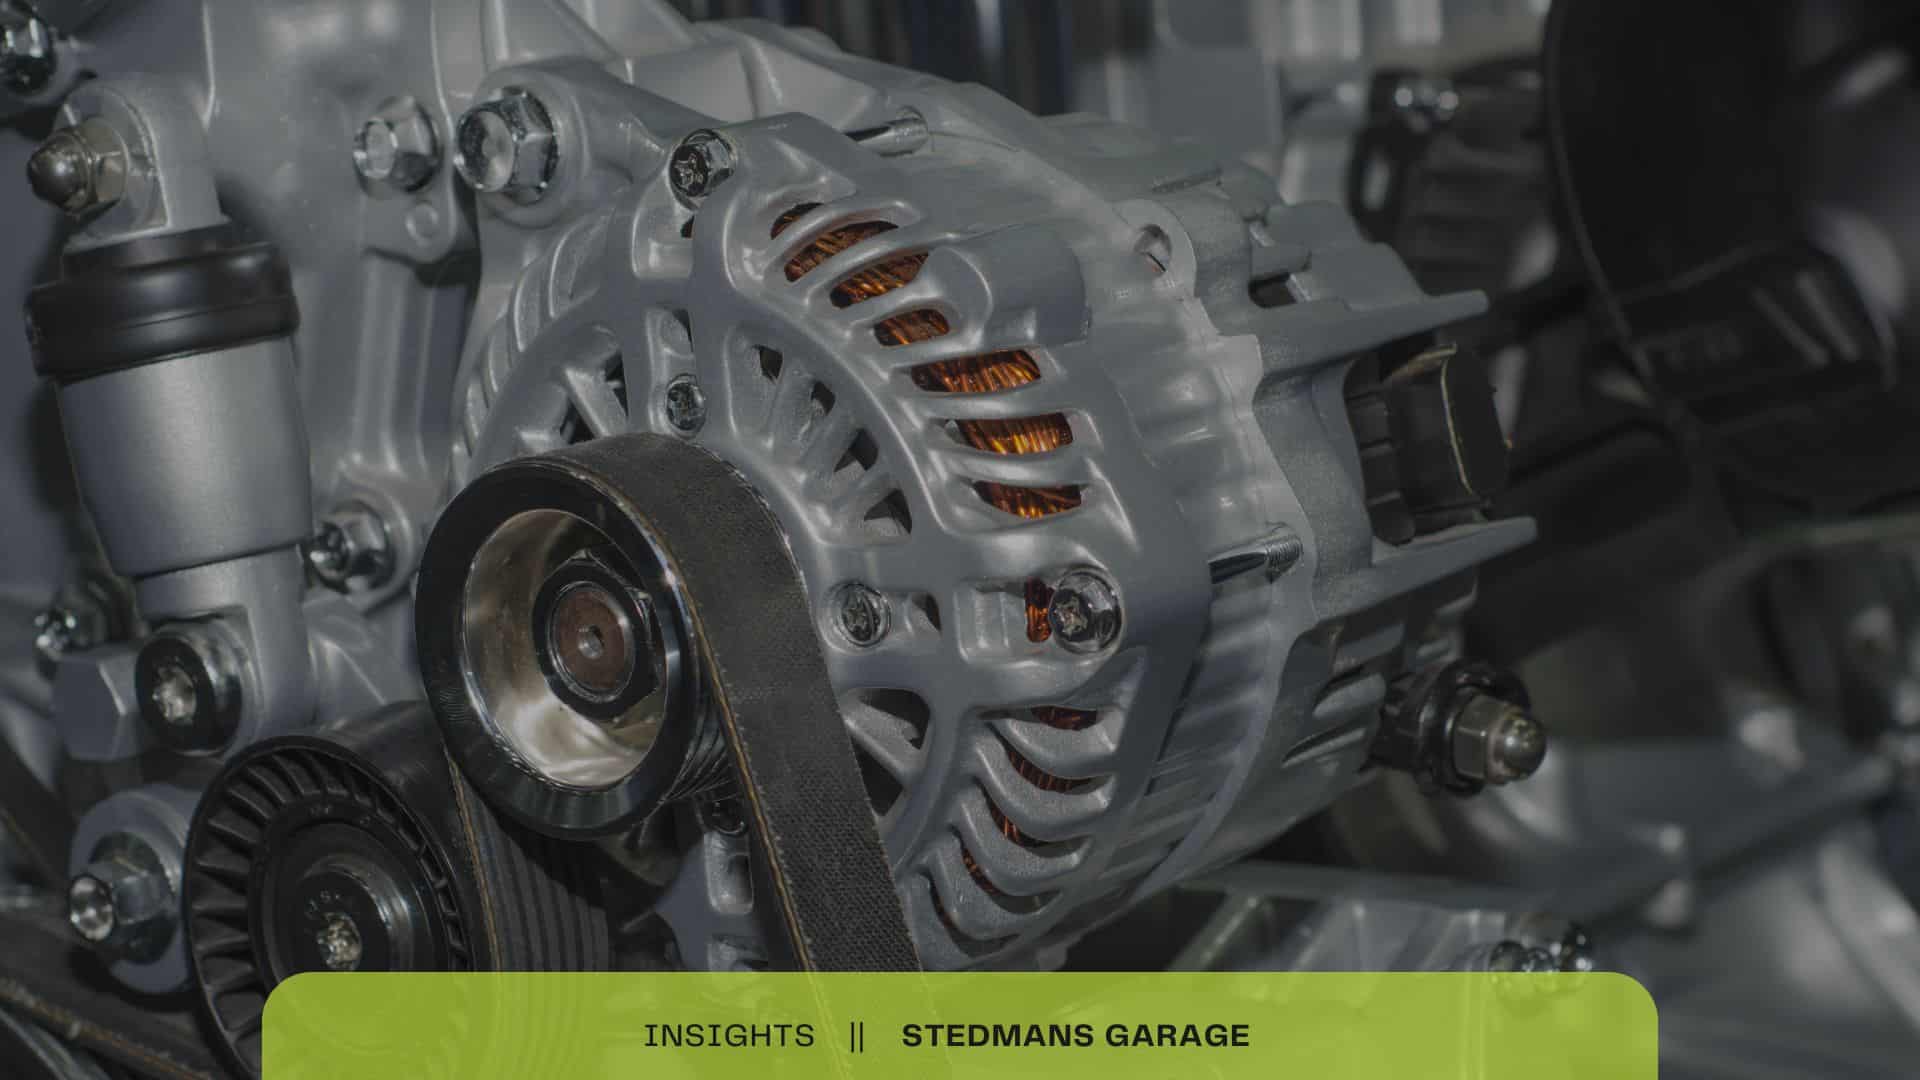
To understand how an alternator functions, it is essential to examine its key components: the pulley, rotor, stator, voltage regulator, and rectifier. Each plays a critical role in transforming mechanical energy into electrical energy to power the vehicle’s systems.
The Pulley
The alternator pulley connects to the drive belt, which the engine powers. The pulley drives the alternator’s rotor by transferring the belt’s motion, enabling the entire alternator system to operate effectively. There are different types of pulleys, including solid pulleys and Overrunning Alternator Pulleys (OAPs). OAPs allow the alternator rotor to rotate freely when engine speed decreases, helping to reduce stress on the belt drive system and prevent belt slip.
The Rotor
The rotor is a rotating magnet within the alternator. It is driven by the pulley and spins inside the stator. When the rotor spins, it creates a magnetic field that interacts with the windings in the stator to generate electricity. This magnetic field is essential for inducing voltage in the stator windings.
The Stator
The stator is a stationary set of coils surrounding the rotor. As the rotor spins, it induces an alternating current (AC) in the stator’s windings. The physical movement of the magnetic field around the stator generates the AC needed for the vehicle’s electrical system. The induced voltage in the stator windings is crucial for converting mechanical rotation to usable electrical energy.
The Voltage Regulator
The voltage regulator monitors and controls the amount of voltage produced by the alternator. Its primary role is to ensure a consistent and appropriate electrical output regardless of engine speed. By regulating the rotor’s energising voltage, it maintains a steady output to prevent overcharging or undercharging the battery. If the voltage regulator fails, it can lead to issues such as excessive voltage spikes or poor charging performance.
The Rectifier
A key component of the alternator is the rectifier, which converts the AC produced in the stator to direct current (DC). Car batteries and electrical systems operate on DC, so this conversion is essential. The rectifier uses diodes, which allow current to flow in one direction only, ensuring the converted DC flows appropriately to power the vehicle and charge the battery.
These components harmoniously work together to ensure the alternator performs its essential function—providing continuous electrical power and maintaining the battery charge for the vehicle’s operation.
Signs of Alternator Problems

Common Symptoms
Recognising early signs of alternator problems can save you from sudden breakdowns and costly repairs. Common symptoms include:
- Dimming or Flickering Lights: If you notice your headlights or dashboard lights dimming or flickering, it may signal that the alternator is failing to provide consistent power.
- Electrical Issues: Malfunctioning or slow accessories, such as power windows, seats, or air conditioning, can hint at insufficient power supply.
- Unusual Noises: Grinding, whining, or rattling noises often point to worn-out bearings within the alternator or issues with the pulley.
- Battery Warning Light: Most vehicles are equipped with a dashboard warning light that illuminates when the alternator output is below par, typically indicated by a battery icon, “ALT” or “GEN”.
Warning Signs
Certain warning signs indicate that the issue may be more serious:
- Engine Stalling: If your car struggles to start or stalls frequently, it could indicate that the alternator is not generating sufficient power to keep the engine running.
- Dead Battery: A constantly dead battery can be a sign that the alternator isn’t charging it properly. While a new battery may offer a temporary reprieve, the underlying alternator issue may persist.
- Burning Smell: The smell of burning rubber or wires is a critical sign which indicates the alternator is overheating due to excessive friction or shorted-out wiring.
- Battery Dashboard Warning Light: If this light turns on, it usually means that the alternator isn’t working as it should.
Differentiating Between Alternator and Battery Problems
Understanding whether the problem lies with the alternator or battery is crucial:
- Battery Issues: If your vehicle refuses to start, the battery may be the likely culprit. A simple solution is to try jump-starting the car; if it starts and runs, the issue might be the battery, but if the car dies shortly after, the alternator is likely failing.
- Alternator Issues: Contrary to a battery issue, if the engine starts but stalls shortly thereafter or if the battery charges but doesn’t hold charge, the fault likely rests with the alternator. Using a multimeter can also help test the alternator’s voltage output to confirm its condition.
Keeping a keen eye on these signs and properly diagnosing the symptoms ensure that the appropriate measures can be taken promptly, reducing the risk of a roadside emergency.
Alternator Maintenance and Lifespan
Maintaining your vehicle’s alternator is essential for ensuring the smooth operation of your car’s electrical system. Understanding the lifespan of an alternator and knowing how to extend its longevity can help avoid sudden breakdowns and costly repairs.
Typical Lifespan of an Alternator
An alternator typically lasts between 7 to 10 years or 80,000 to 150,000 miles, largely depending on driving habits and maintenance routines. This lifespan can vary based on several factors, including the quality of the part, how hard it has to work, and other environmental conditions.
Maintenance Tips to Extend Alternator Life
Proper maintenance can significantly extend the lifespan of an alternator. Here are some essential tips to keep your alternator in good working condition:
- Regular Service: Ensure your vehicle undergoes regular servicing to catch any potential issues early. This includes checking the alternator during routine maintenance.
- Battery Health: Maintain your battery in good condition as a failing battery can put extra strain on the alternator. Regularly check the battery for signs of wear or damage.
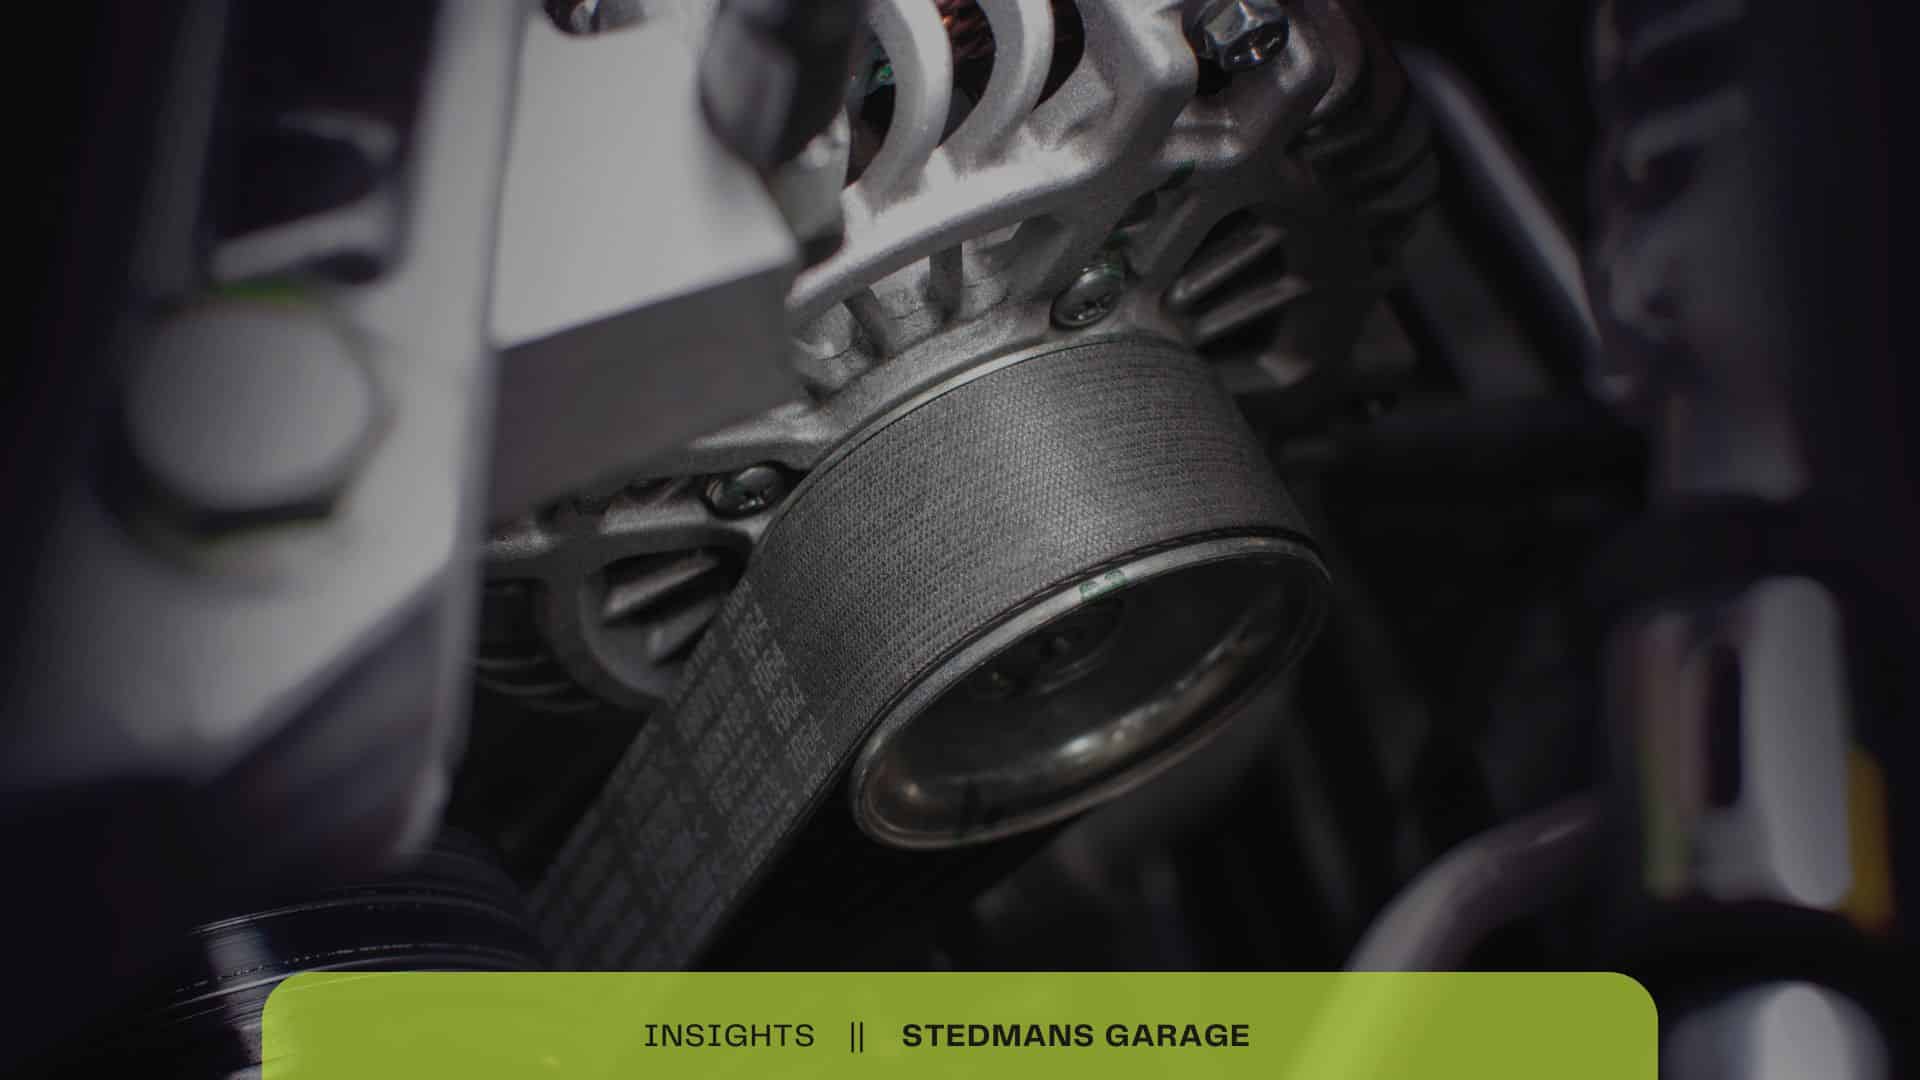
- Belt Inspection: Inspect the alternator belt for wear and ensure it has the proper tension. A worn or loose belt can cause the alternator to work harder and wear out faster.
- Avoid Overloading: Minimise the use of high-power accessories simultaneously. This reduces the electrical load on the alternator, reducing stress and extending its life.
- Balance Electrical Load: Keep the electrical load balanced and avoid frequent short trips that don’t allow the battery to recharge fully.
When Professional Inspection is Necessary
Regular checks are important, but certain situations require professional inspection:
- Unusual Noises: Any whining or growling noises coming from the alternator could indicate bearing issues or a misaligned pulley, necessitating professional attention.
- Dashboard Warning Light: An illuminated battery warning light on your dashboard often signals a problem with the alternator. Immediate inspection is crucial to prevent further damage.
- Electrical Failures: Frequent stalling, dim or overly bright lights, and malfunctioning accessories are signs the alternator isn’t supplying enough power. A professional should investigate to determine if the alternator needs repair or replacement.
By adhering to these maintenance guidelines and seeking timely inspections, you can ensure your alternator remains in optimal condition, thus safeguarding your vehicle’s electrical system.
Alternator Connections and Installation
Main Electrical Connections
Understanding the primary electrical connections is crucial for proper alternator installation. The alternator has several key connections:
- Positive Terminal: This connects to the car’s battery, providing the necessary charge to keep the battery powered.
- Negative Terminal: Often connected to the car’s chassis, this establishes a ground connection to complete the electrical circuit.
- Voltage Regulator: This built-in component manages the voltage output, ensuring it remains within the appropriate range for vehicle operations.
- Wiring Harness: These connectors link the alternator to various electrical systems within the vehicle, facilitating power distribution.
Proper installation ensures that these connections are secure, preventing electrical failures and potential damage to the alternator and other components.
Importance of Proper Wiring and Grounding
Proper wiring and grounding are critical to the efficient functioning of the alternator and the vehicle’s electrical system. Incorrect or loose wiring can result in:
- Electrical Shorts: These can cause significant damage to the alternator and other electrical components.
- Voltage Drops: Poor connections can lead to insufficient charging of the battery and failure to power the vehicle’s electrical systems.
- Component Damage: Inadequate grounding can lead to overvoltage, damaging sensitive electronics.
To avoid these issues, make sure all connections are tight, use high-quality, insulated wiring, and ensure the grounding point is clean and secure.
Basic Installation Requirements
Installing an alternator requires a few essential steps:
- Disconnect the Battery: Before starting, always disconnect the battery to prevent electrical shocks and short circuits.
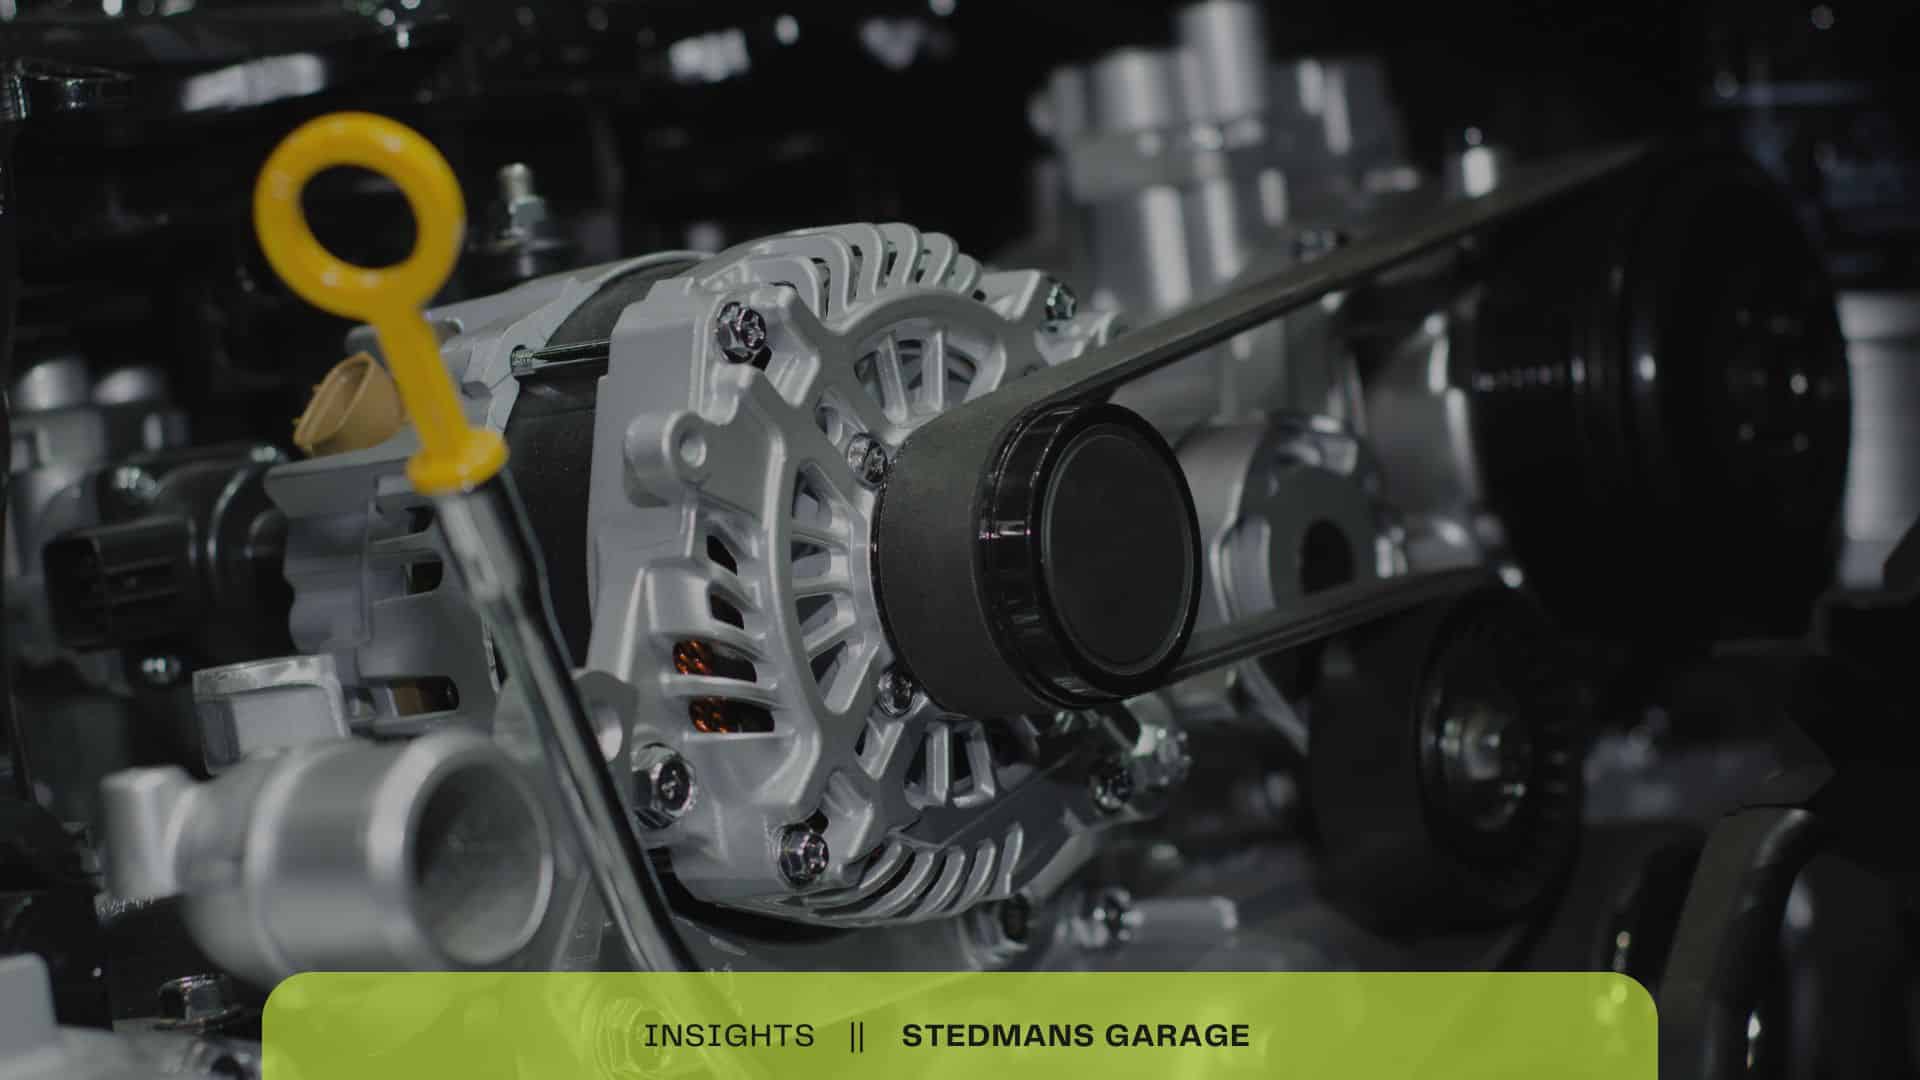
- Remove the Drive Belt: Loosen and remove the drive belt that spins the alternator pulley.
- Disconnect Electrical Connections: Remove all electrical connections from the old alternator, taking care to remember their locations.
- Remove the Old Alternator: Unbolt and remove the faulty alternator from its mount.
- Install the New Alternator: Place the new alternator in position and bolt it securely.
- Reconnect Electrical Connections: Attach all the electrical connections to the new alternator, ensuring they are tight and secure.
- Replace the Drive Belt: Reinstall and properly tension the drive belt to ensure it runs smoothly.
- Reconnect the Battery: Finally, reconnect the battery and test the system to ensure the alternator is charging correctly.
By following these steps, you ensure the alternator is installed correctly, maximising its performance and longevity. Proper installation is key to maintaining vehicle reliability and preventing future electrical issues.